How WE Print your Tees
Share
The Heat Transfer Process
Step 1: Design Your Artwork
The first step is to create or choose a design. Use design software like Adobe Illustrator or Canva to create artwork that’s suitable for printing. Make sure the image resolution is high, especially if you're working with detailed images.
Step 2: Choose the Right Transfer Paper
The type of transfer paper you need depends on the fabric you’re printing on. Dark fabrics typically require different transfer paper than light fabrics. Check the specifications of your chosen heat transfer material to ensure compatibility.
Step 3: Print Your Design
For most transfer methods (except vinyl), you’ll need a printer that can print your design onto the transfer paper. Inkjet printers are commonly used for home-based setups, but professional setups may use sublimation or large-format printers.
Step 4: Prepare the Garment
Before applying the transfer, ensure the garment is clean and wrinkle-free. Use a lint roller to remove any dust or debris, as this can affect how well the transfer adheres.
Step 5: Heat Press Your Design
Heat pressing is the critical step in applying your design. Follow the temperature, time, and pressure guidelines provided by the transfer paper manufacturer. Most heat transfers require temperatures between 300-400°F (150-205°C) and a pressing time of 10-30 seconds.
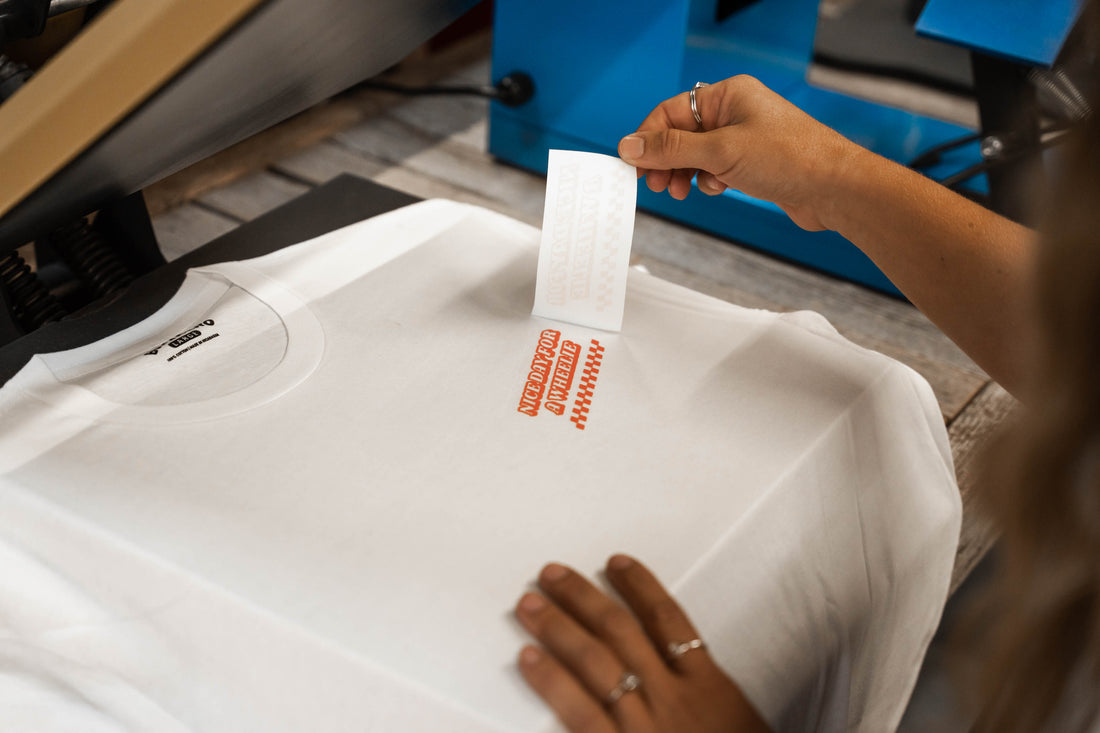
Step 6: Peel Off the Transfer Paper
After applying heat and pressure, carefully peel the transfer paper off the garment. Depending on the type of transfer, this might be done while the material is still hot or after it cools down.

